Making a short film on Super 8
My experience making a short film on Super 8. The process, potential pitfalls to avoid, and some advice for those crazy enough to do the same?

Way back in 2015, I decided to make a short film on a super 8 camera. Some things worked and some things didn't. Read on and I'll walk you through how I did it, equipment I used, the film stocks & processing involved, and what I thought about this format at the end of the process. If you're bold, or crazy, enough to be considering 8mm film for your own creative project then you might get some value out of this article.
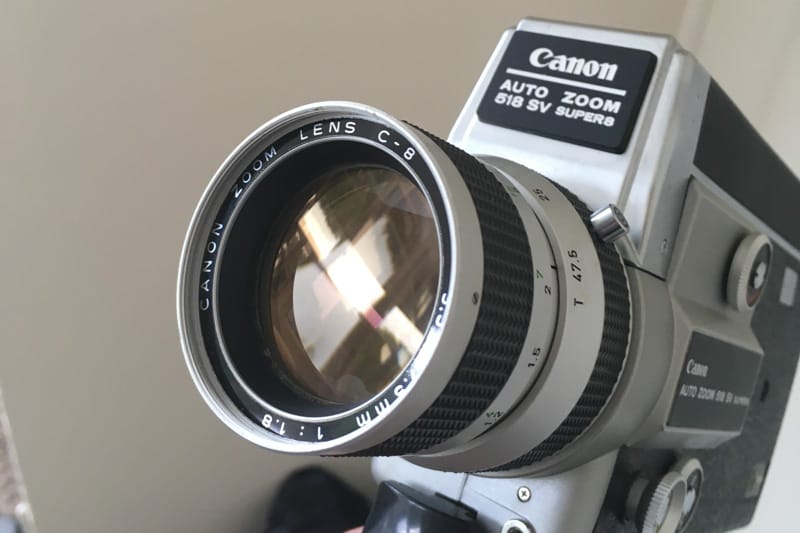
Like a lot of people interested in making my own films I had a dream to shoot a film, any film, on real celluloid. I shot my super 8 film way back in 2015, just as the 'analog renaissance' really kicked off. Getting hold of a cheap, reasonably capable, super 8 camera wasn't too hard. I found a Canon auto zoom 518sv on a local online marketplace for about $80. This camera had frame rate options of 18fps, 24fps, 36fps, and manual control of the aperture/exposure. It has a good lens, was a reliable camera that I can say I was happy with. I went for this model as the higher end super 8 cameras were just starting to pick up in demand and price.
Here are some key questions to keep in mind when looking for a super 8 camera. Does it have an option to shoot at 24fps? Can you manually control the aperture? This is important for setting exposure and in theory controlling the depth of field, although this is limited on such a small format.
There are two problems with auto exposure when shooting a short film on super 8. First, automatic exposure adjustment during a take will look a bit amateurish. Second, the light meters inside these cameras are very old now and unlikely to be accurate.
I didn't rely on my camera for measuring at all. I used an external light meter, and not a very expensive one. I had the Sekonic 398a studio deluxe III, which is a basic analog light meter that is still available to buy brand new. It is not the top of the line by any means. If you are filming in complex lighting setups it might be best to get a more advanced meter but for daylight metering this one, or similar, is fine.

The next task was to choose a film stock. I wanted to film in black and white so Kodak Tri-x reversal was the only real option. I think I had 2 or 3 rolls of Tri-x and one roll of 200T colour film, which I already had, that I would convert to black and white in post. I was also interested to see how the colour footage looked straight out of camera.
Reversal film can be intimidating if you have never filmed with it before. But this was my first time making a film on celluloid and I was able to expose the positive film accurately with my Sekonic 398 in outdoor daytime and dusk conditions. This shows that even an 'entry level' light meter is capable of exposing the narrow latitude this type of film has very accurately, at least in uncomplicated lighting conditions. Just have faith in your meter.
As far as the actual photography part of production goes I'm not going to go into the creative aspects of it in this article but I'll mention some things to be aware of when using Super 8 cameras.
As mentioned earlier, don't set aperture on auto. Set it manually when you've calculated exposure. If the camera is moving from light to dark during the shot then I'd usually set one exposure, deciding what part of the take I want exposed 'correctly'. This will generally look better than changing exposure during a take, and will definitely look better than auto exposure even if it still works properly on your 50 year old super 8 camera. If you're experienced or want something very specific out of your take then feel free to ignore this advice. It's one of those things where the creative decision, on how to expose, matters more than everything being technically correct. Be deliberate on what part(s) of the shot you want exposed correctly is all I'm saying.
On the Canon 518sv, and some other super 8 cameras the shutter angle is not 180 degrees but at a 160 degree angle. If you are shooting at a standard 24fps with a 160 degree shutter angle then the exact equivalent shutter speed is 1/54. But I kept the shutter speed on my light meter at 1/50 as it was the closest setting on the sekonic 398. This was a slight overexposure, which is fine for the negative film I shot. For the reversal film I wanted to be accurate. The thing is on this camera you lose a little bit of light to the viewfinder. So my thinking was that 1/50 would be fine for the tri-x, and it was.
With the shutter speed set, you can then use the aperture for exposure control. I metered at box speed when filming with both the Tri-x reversal and the 200T, I just leaned into overexposure on the colour film on the shots I thought it could use a bit extra. The Kodak colour negative films can generally handle a good amount of overexposure but on the small 8mm, while exactly the same film as the larger 35mm format, I'm not sure if there is as much exposure latitude. Common sense would say no but I haven't tested it.
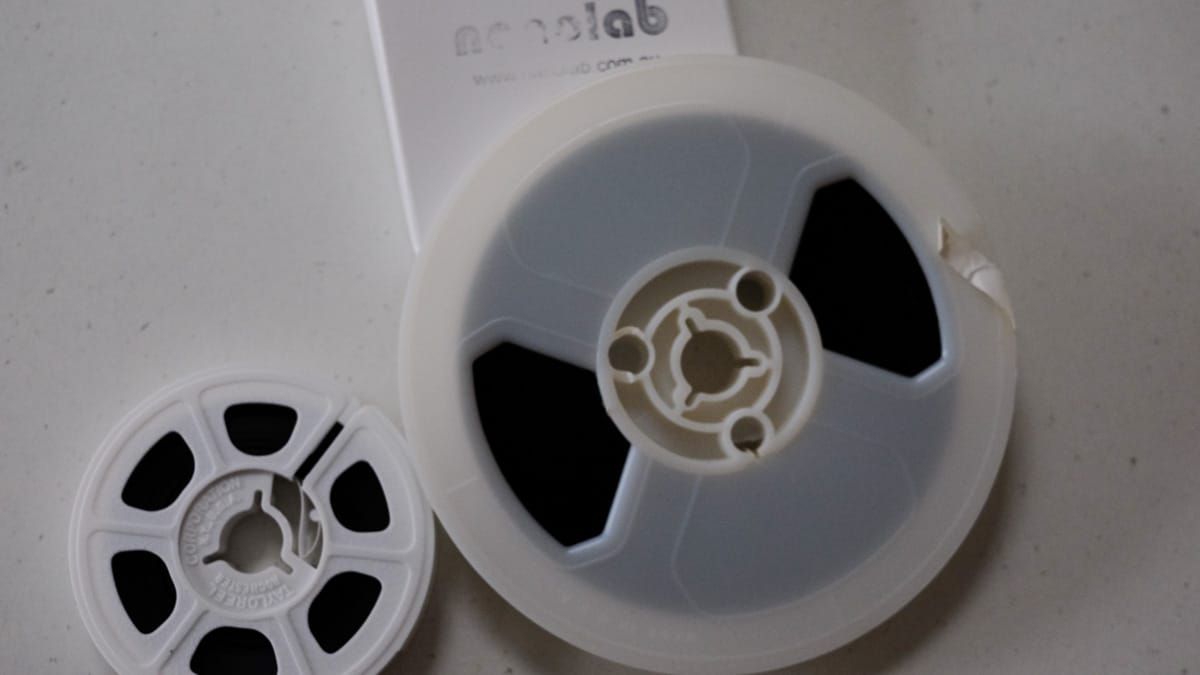
I sent my film to Nanolab located near Melbourne, Australia for processing and scanning. In 2015, Nanolab was the only place I could find that processed 8mm at a reasonable price and that was reasonably close to me in New Zealand. I'd have a hard time remembering the total cost for film and processing. Nanolab offered a consistent HD scan, without grading, at a reasonable cost. I think there is only so much you can grade 8mm anyway so unless you're filming a commercial project it's probably not worth paying for a higher level scanning service.
Super 8 cartridges have become a lot more expensive since I shot with them. On the Nanolab site they are twice as expensive as when I bought from them last. On the plus side scanning price not that much different than back in 2015. It appears Nanolab no longer process reversal film and now specialise in processing and scanning only negative film. This seems understandable, using super 8 positive film must be even more niche than shooting on colour negative. I found Nanolab really good to deal with. If you're located in Australia, or even New Zealand like I was, I'd recommend them to anyone wanting to film on super 8.
None of the last paragraph applies if you are filming in the UK, Europe, or North America. I don't have a good answer on super 8 labs in these regions. Except to find one that offers a good quality HD scan/telecine, without the frills of grading and higher resolutions, similar to what Nanolab offers in Australia. Unless it's required for a commercial job I don't see how 4k scanning is necessary on such a small format like super 8.
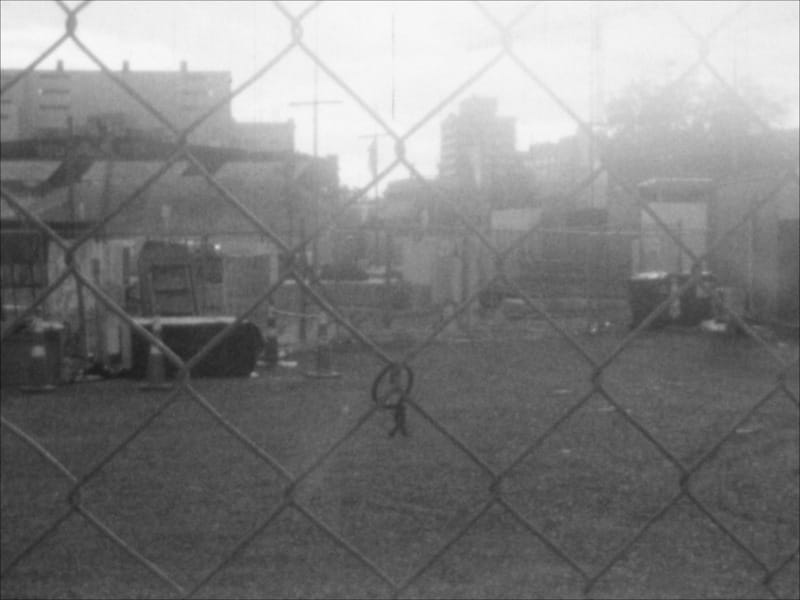
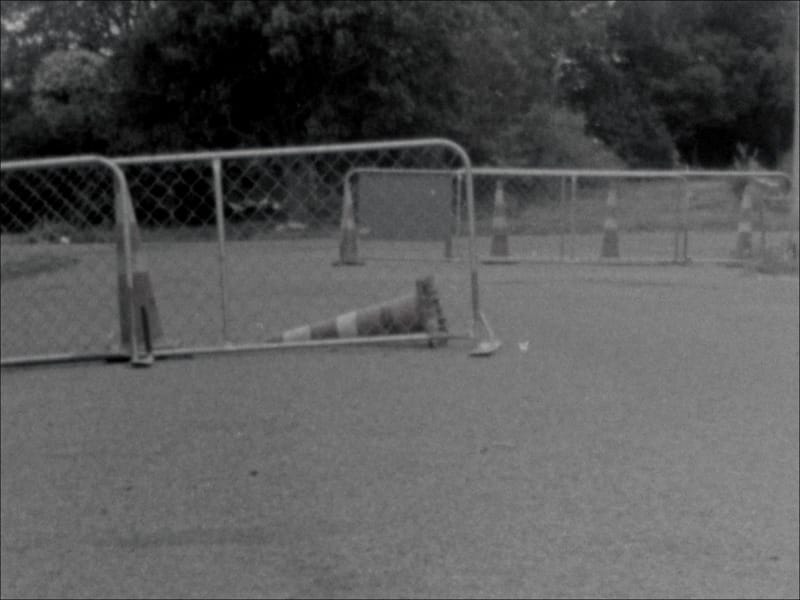
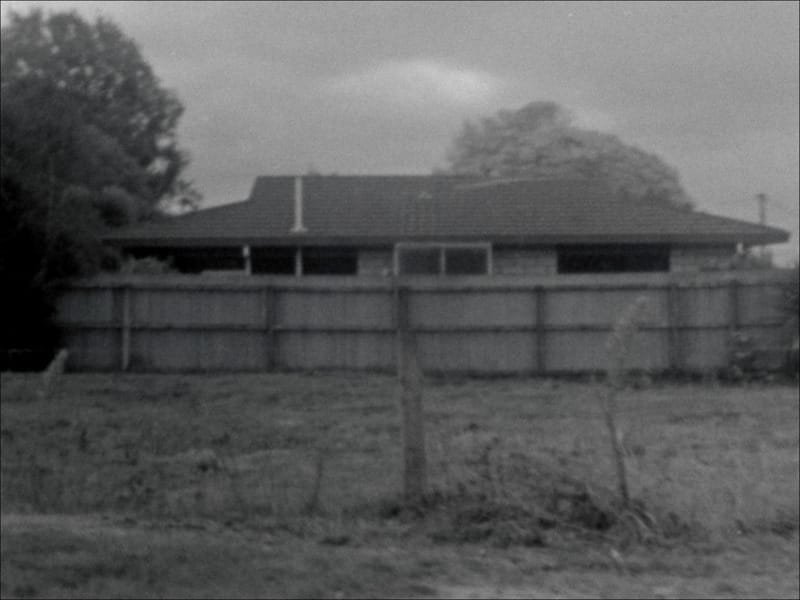
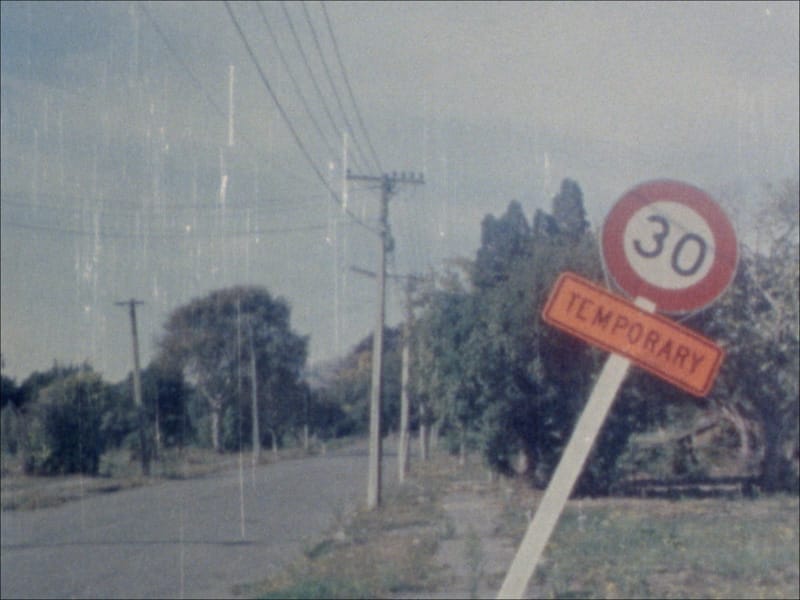
Still frames: Tri-x reversal black and white (left) and Kodak 200T colour, converted to black and white (right).
The unique look this small format gives you is great and I enjoyed the process of filming with it but I couldn't justify the cost again for a personal project. As a learning exercise, it was worthwhile. For a paid commercial shoot I can also see some use cases for Super 8. Short fashion films would be a good niche to use super 8 as the film is great for skin tones and the small negative creates a stylised and, perhaps, nostalgic experience for the viewer. Having said that a 16mm or 35mm negative can also be pushed and manipulated in processing to provide a high grain and distressed look. However, there is something unique about 8mm and I always enjoy seeing what commercial directors, and short film makers, can do with the format.